On YouTube, there are tons of videos uploaded every day. But the ones that really stand out are the ones that are well-edited. Think of video editing as the magic that turns boring footage into something amazing. It's what keeps people watching and wanting more.
If you learn how to edit your videos, your YouTube channel will look way better. You might even get more viewers and subscribers! In this masterclass, we'll teach you everything you need to know about editing YouTube videos. We'll cover everything from picking the right software to making your videos look super professional.
So whether you're just starting out or you already know a bit about editing, this guide is for you. Get ready to learn how to make awesome videos that will help your channel grow!
Essential Video Editing Tools and Software
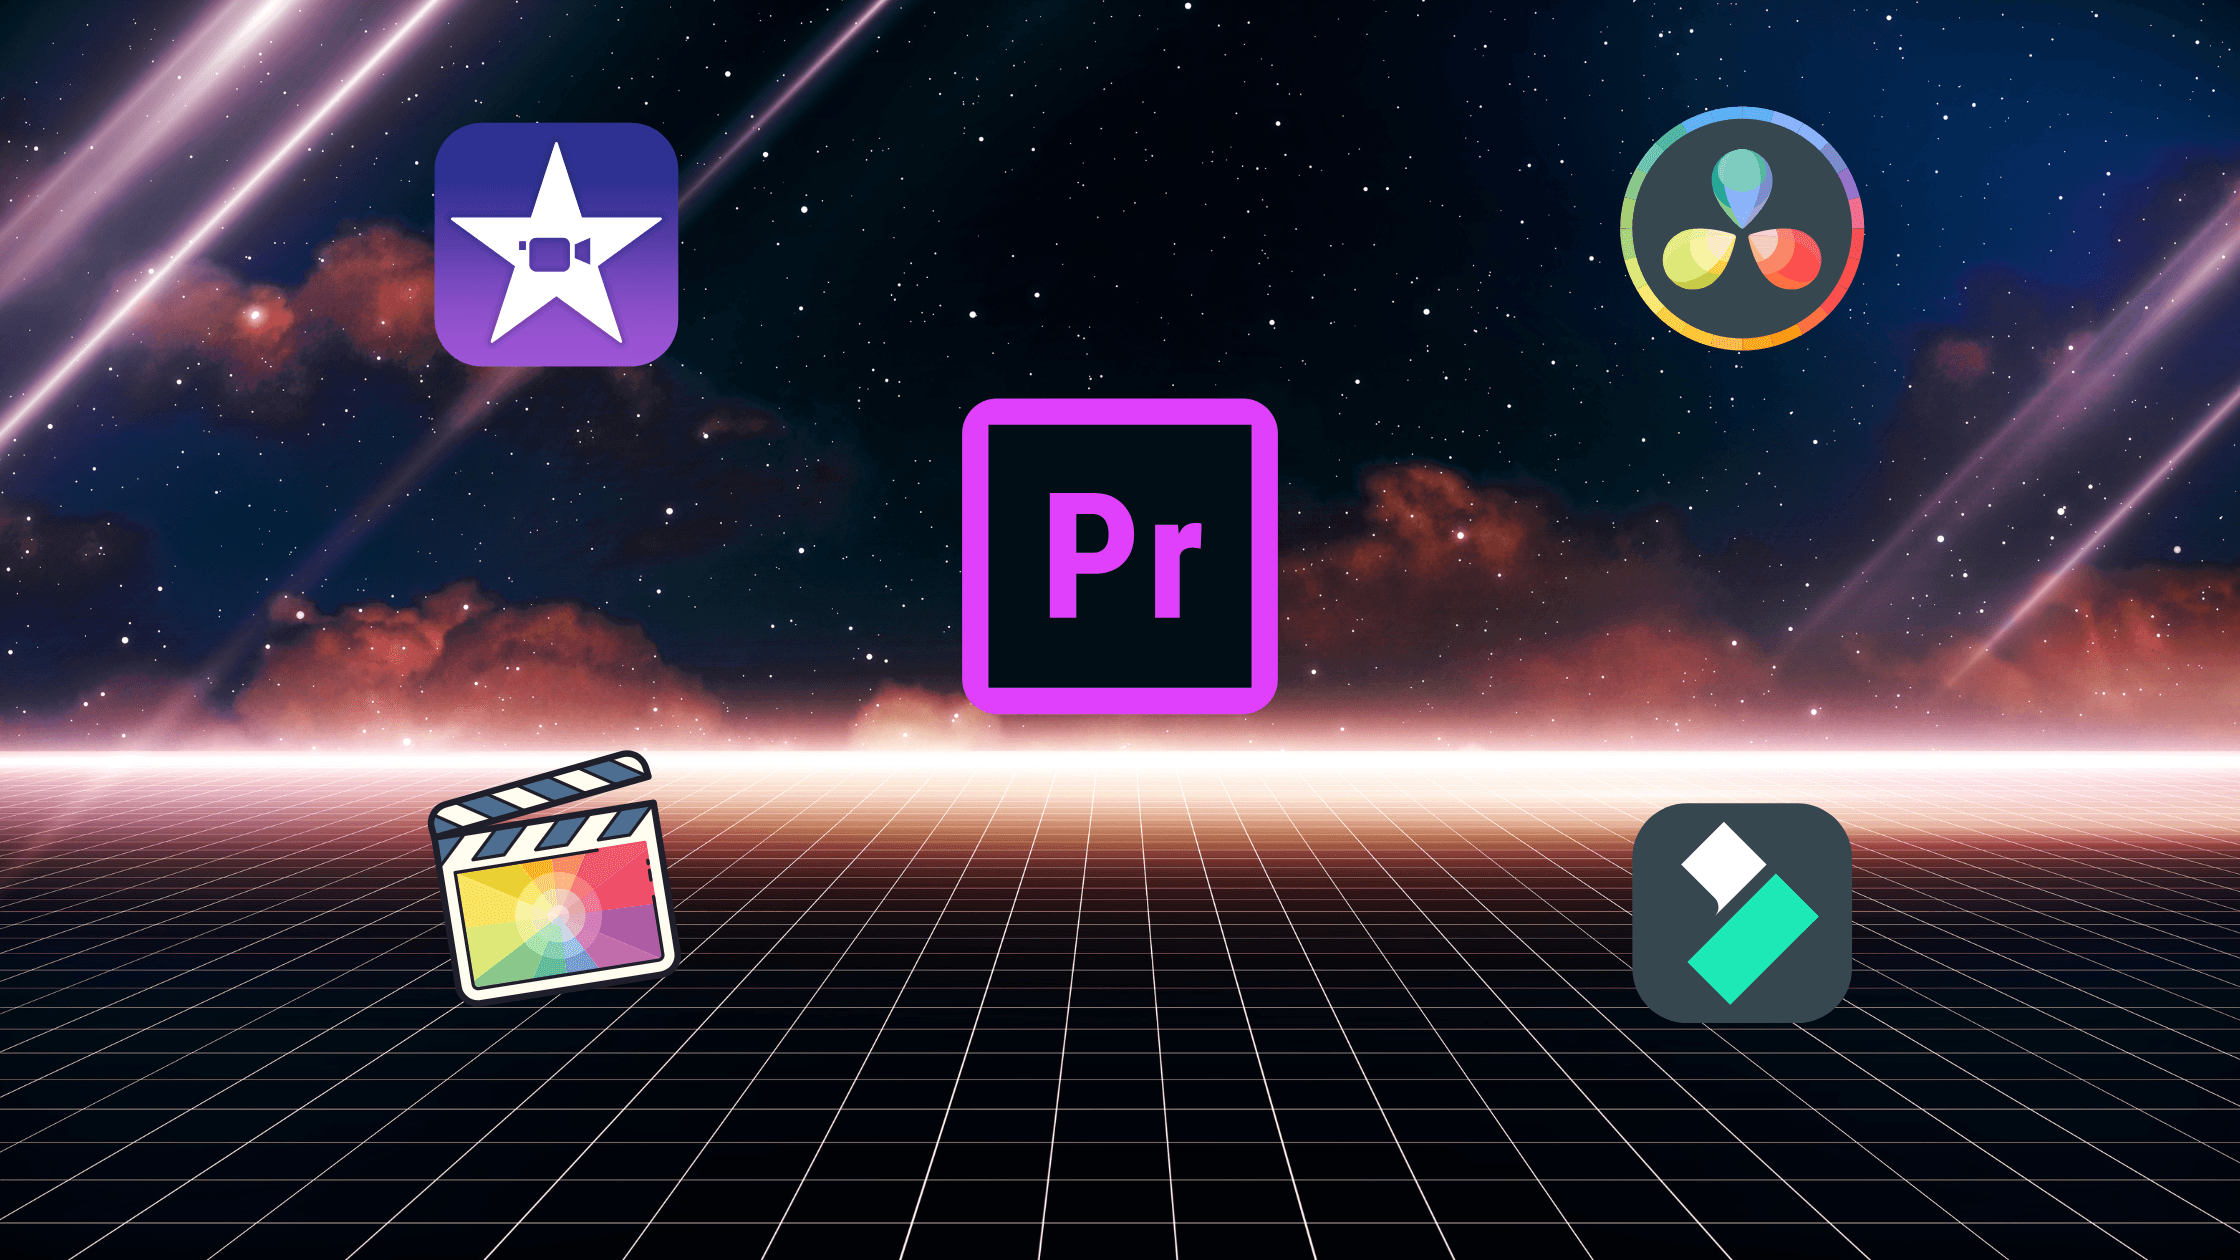
Picking the right video editing software is super important. It's like choosing the right tool for a job. You wouldn't use a hammer to paint a wall, right? You need the right tool to get the job done well.
There are tons of video editing software options out there, some are easy to use for beginners, and others have more advanced features for pros. Some are free, and some cost money.
Here are a few popular choices:
iMovie: This one is great for beginners who use Macs. It's easy to learn and has all the basic tools you need.
Final Cut Pro: If you're a Mac user looking for professional-level editing, Final Cut Pro is a powerful option with a sleek interface and advanced features.
Adobe Premiere Pro: This is the industry standard for video editing, used by professionals worldwide. It has a steep learning curve but offers unmatched flexibility and capabilities.
DaVinci Resolve: This is a free software that's really powerful. It has lots of features, including professional color grading tools, but it might take a bit longer to learn.
Filmora: This is a user-friendly video editing software that is perfect for beginners and intermediate users alike. It offers a wide range of features and effects to enhance your videos.
When you're choosing software, think about these things:
Is it easy to use? If you're just starting out, you'll want something that's simple to learn.
Does it have all the features you need? Think about what kind of videos you want to make and make sure the software has the tools you'll need.
Does it work well with YouTube? You want to be able to easily export your videos in the right format for YouTube.
How much does it cost? There are great free options out there, but some paid software has more features.
Importing, Organizing, and Managing Your Footage
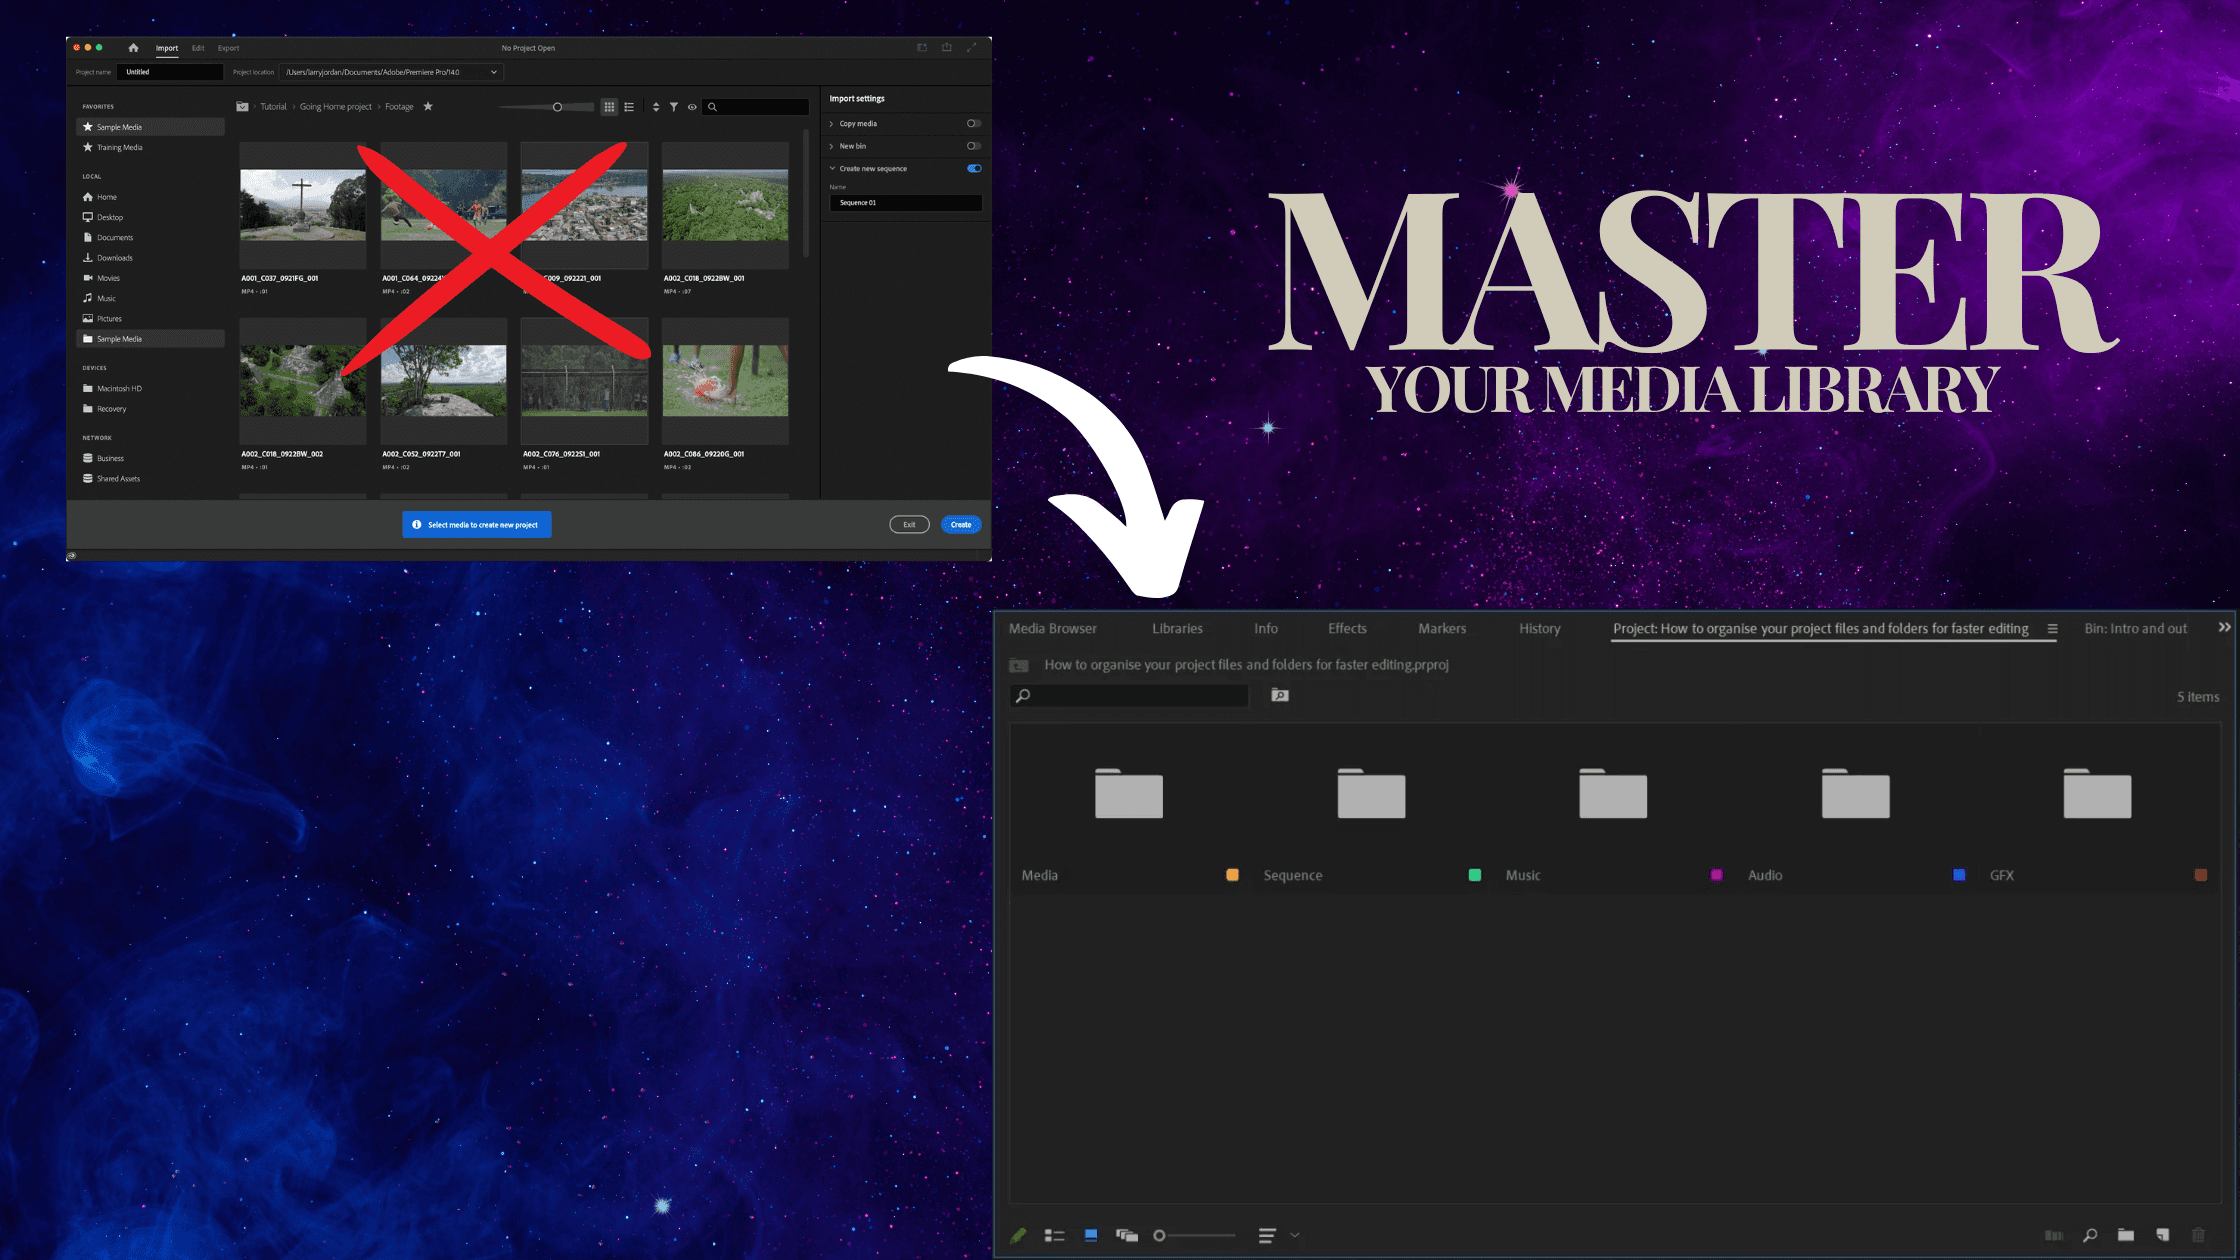
Imagine trying to find a specific LEGO piece in a giant pile of mixed-up bricks. It would take forever, right? Keeping your video footage organized is like sorting those LEGOs into neat little boxes. It makes everything easier to find when you're ready to build your awesome video!
Here's how to keep things tidy:
Get your videos into your editing software: Most editing software lets you drag and drop your videos right in. It's like moving files on your computer.
Make folders and label everything: Create folders for each video project, and give your clips clear names that tell you what they are. Think of it like putting labels on those LEGO boxes.
Use tags or keywords: Some editing software lets you add tags or keywords to your clips. This is like having a search bar for your LEGO collection!
Keep things neat in your workspace: Close any programs you're not using, and make sure your video files are stored on a fast hard drive. This will help your computer run smoothly and keep you from getting frustrated.
Remember, the more organized you are, the easier and faster it will be to edit your videos. So take a little time to get things set up right, and you'll be glad you did!
Cutting, Trimming, and Arranging Your Clips
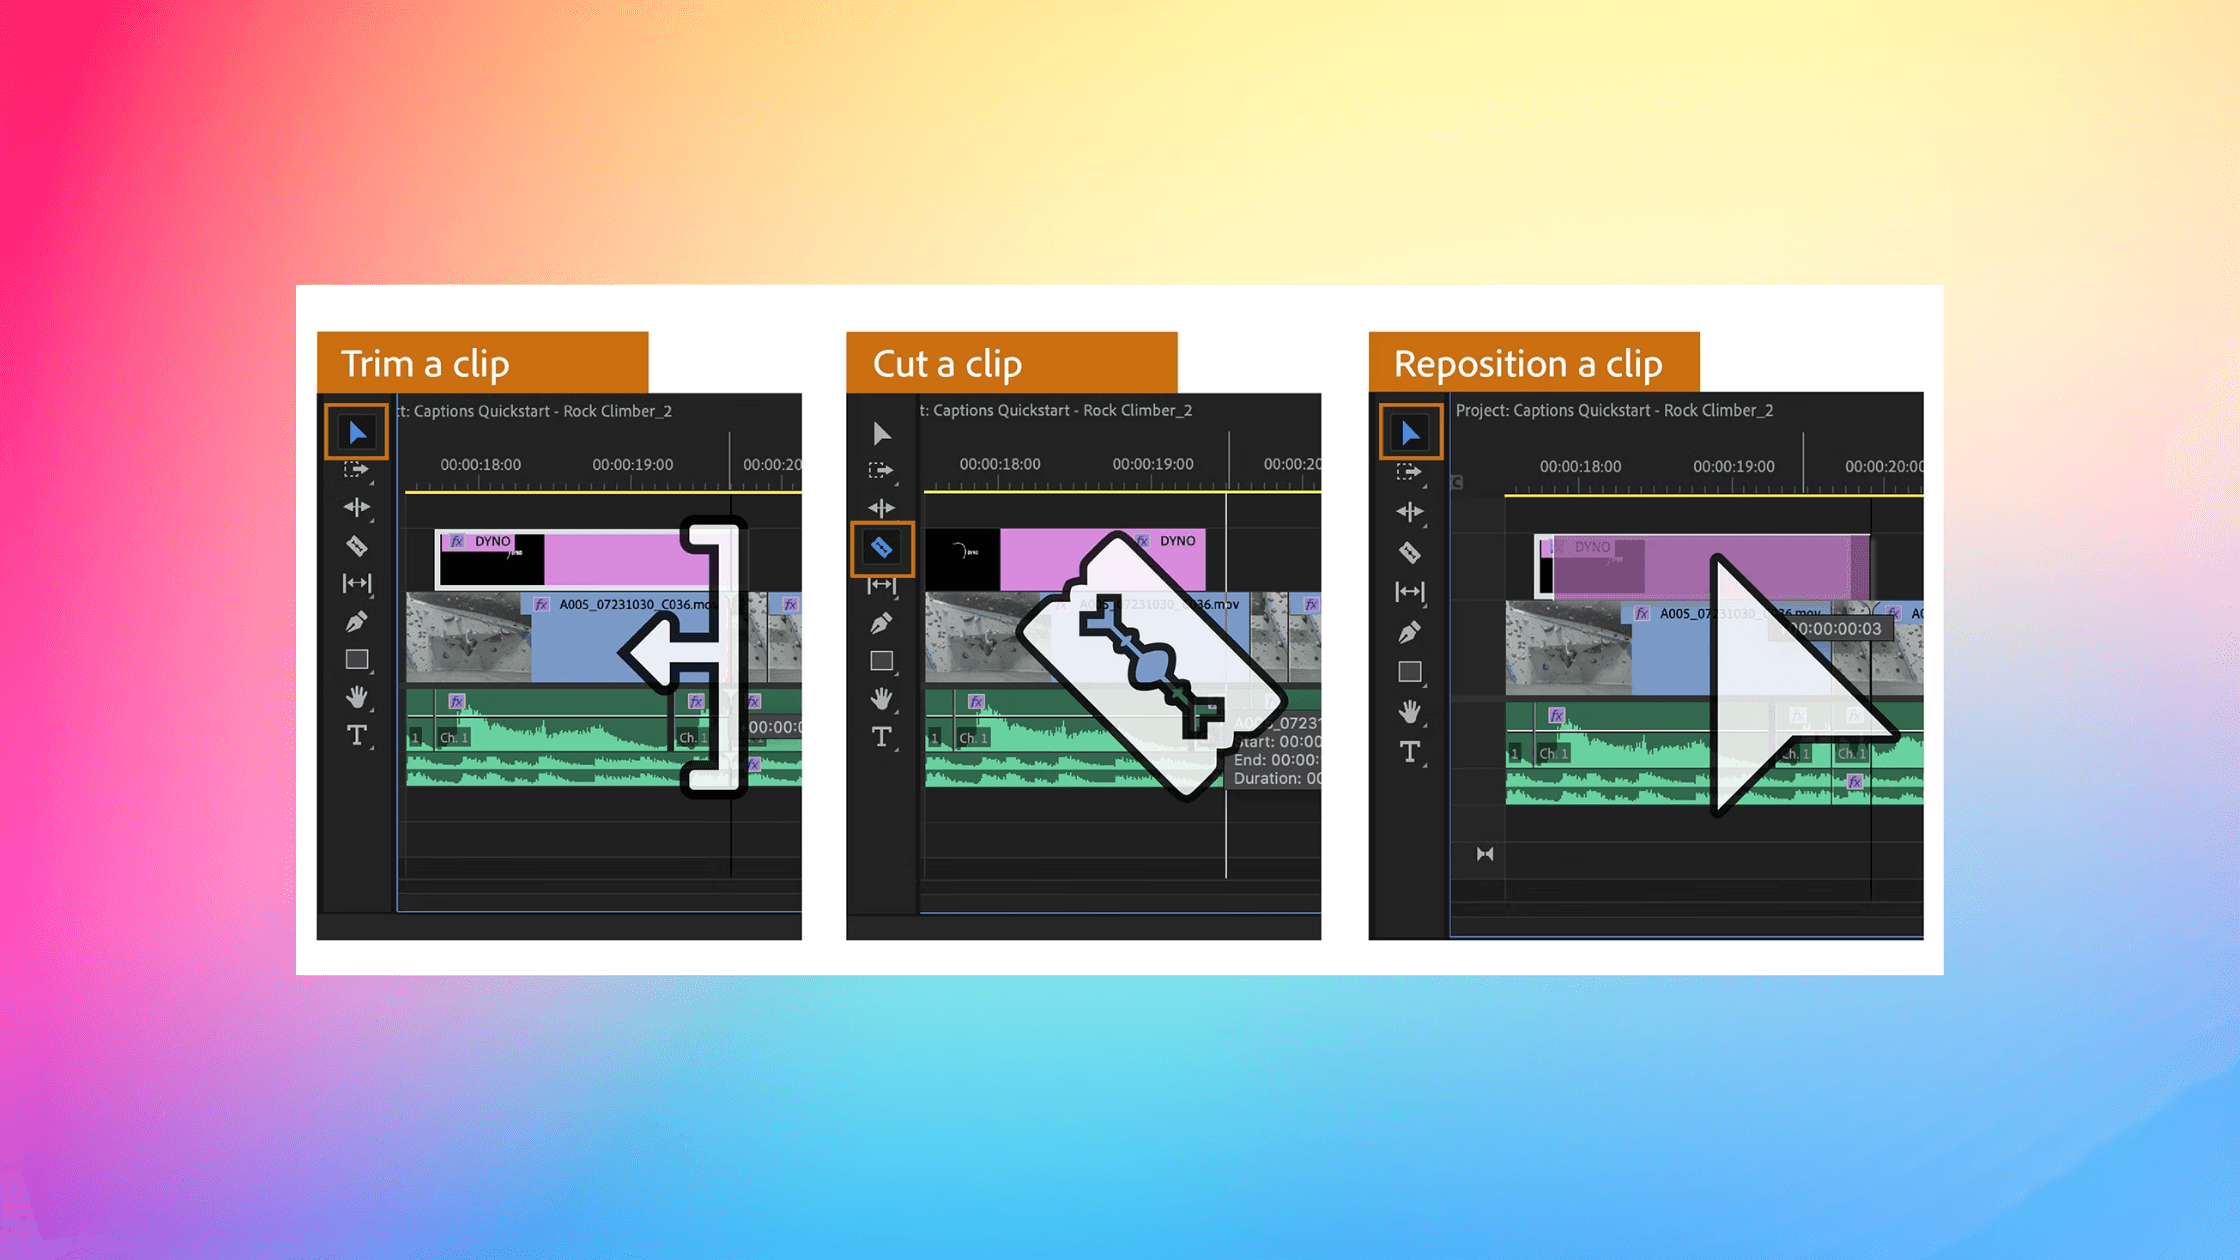
Now that your video clips are organized, it's time to start shaping your story! Cutting, trimming, and arranging your clips are the basic building blocks of video editing. It's like putting together a puzzle - you need to find the right pieces and put them in the right order to create the big picture.
Cutting means removing parts of a clip you don't want. Maybe there's a mistake, or maybe you just want to make the clip shorter. Trimming is similar, but it's more about fine-tuning the beginning and end of a clip. Think of it like shaving off the rough edges to make everything fit perfectly.
Arranging your clips is all about putting them in the right order to tell your story. You want to keep things interesting and moving along at a good pace. If your video is too slow, people will get bored. If it's too fast, they won't be able to follow what's going on.
Here are some tips to keep your videos engaging:
Vary your shots: Don't just use one type of shot over and over. Mix it up with close-ups, wide shots, and different angles to keep things visually interesting.
Use cutaways: A cutaway is a shot that's related to the main action but shows something different. It can help break up the monotony of a long scene and add visual interest.
Pay attention to pacing: The speed at which your video moves is important. Use faster cuts for action scenes and slower cuts for more emotional moments.
Tell a story: Even if your video isn't a traditional story, it should still have a beginning, middle, and end. Keep your viewers engaged by building suspense and leading them towards a satisfying conclusion.
Remember, practice makes perfect! The more you edit, the better you'll get at creating videos that flow smoothly and keep your viewers hooked from start to finish.
Adding Transitions and Effects
Transitions and effects are like the sprinkles on a cupcake - they make your videos look more fun and exciting! Transitions help you move smoothly from one clip to the next, while effects can change the way your video looks or sounds.
Here are a few common types of transitions:
Cuts: The most basic transition, where one clip instantly switches to another
Fades: A gradual transition where one clip fades out as another fades in
Dissolves: One clip slowly disappears as another appears on top of it
Wipes: One clip pushes another off the screen, like a curtain closing
And here are some cool effects you can try:
Color filters: Change the colors in your video to create a certain mood or look
Slow motion or fast motion: Speed up or slow down your footage for dramatic effect
Zoom and pan: Make your videos more dynamic by zooming in or out, or panning across a scene
Text and titles: Add text to your videos to introduce new sections, highlight important points, or create eye-catching titles
Remember, it's important not to go overboard with transitions and effects. Too many can be distracting and take away from your story. Use them sparingly and purposefully to enhance your videos, not overwhelm them.
You can also find tons of helpful tutorials and resources online, like these: Video editing resources and tutorials
With a little practice, you'll be able to use transitions and effects to make your YouTube videos look amazing!
Enhancing Audio: Music, Sound Effects, and Voiceovers
Imagine watching a movie with muffled dialogue or annoying background noise. You'd probably turn it off, right? That's why good audio is so important for your YouTube videos. In fact, 83% of viewers are more likely to watch a whole video if the audio is good quality!
Voiceovers:
If you're using voiceovers in your videos, here are some tips for making them sound great:
Find a quiet place to record: Background noise can ruin a good voiceover. Find a quiet room or closet to record in.
Use a good microphone: Your built-in computer mic might not cut it. Invest in a decent microphone to get clear, crisp audio.
Speak clearly and at a good pace: Don't mumble or talk too fast. Practice your script beforehand so you sound natural and confident.
Music and Sound Effects:
Music and sound effects can add a whole new dimension to your videos. They can set the mood, create excitement, and even help tell your story.
Choose music that fits your video: The music should match the tone and style of your video. Upbeat music for a fun vlog, or something more dramatic for a serious topic.
Use sound effects sparingly: Too many sound effects can be overwhelming. Use them to highlight key moments or add a touch of realism.
Make sure your audio levels are balanced: You don't want your music or sound effects to drown out your voiceover or other important sounds.
Remember, great audio can make or break your video. So take the time to get it right, and your viewers will thank you for it!
Color Correction and Grading
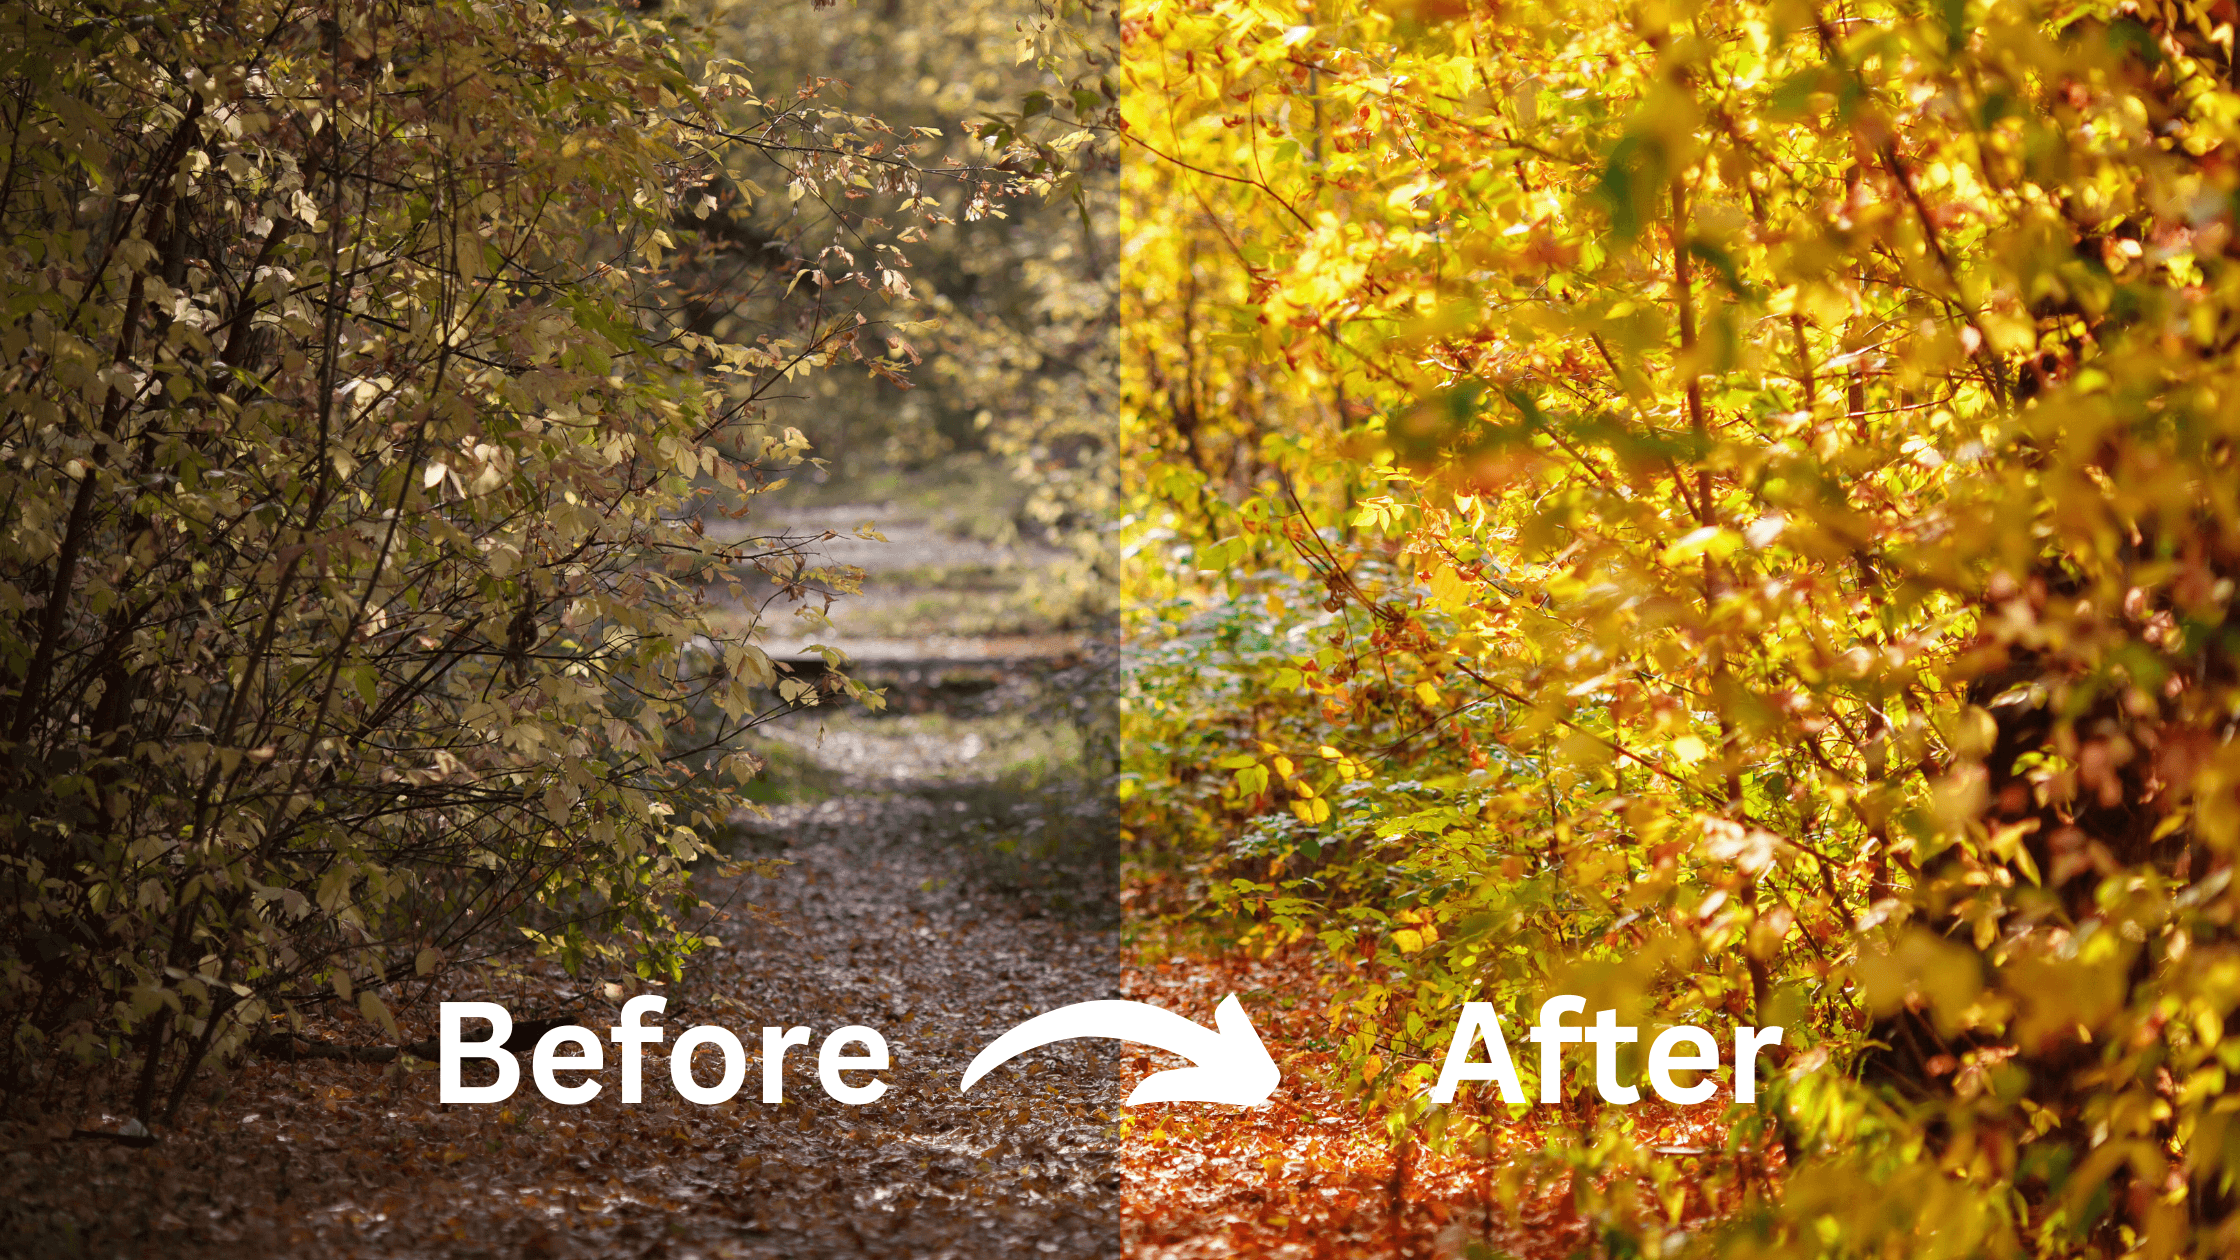
Have you ever taken a photo that looked a bit dull or washed out? Color correction and color grading are like giving your videos a makeover! They help you fix any color problems and make your videos look more professional and eye-catching.
Color Correction:
Color correction is like fixing a makeup mistake. It's about making sure the colors in your video look natural and balanced. Maybe the lighting was a bit off when you filmed, or maybe your camera made everything look too blue. Color correction fixes those problems.
Color Grading:
Color grading is like adding a filter to your video. It's about giving your video a certain look or feel. You can make it look warm and inviting, cool and mysterious, or anything in between.
Here are some tips for color correcting and grading your videos:
Start with color correction: Fix any obvious color problems first, like making sure skin tones look natural and the white balance is correct
Use color grading to create a mood: Think about the feeling you want your video to convey and use color grading to help you achieve it.
Keep it consistent: If you're making a series of videos, try to use similar color grading techniques so they all look like they belong together.
With a little practice, you'll be able to use these techniques to make your videos look amazing and stand out from the crowd!
Adding Text, Titles, and Captions
Text, titles, and captions are like the signs and labels in a museum. They help people understand what they're seeing and make your videos more accessible.
Titles and Text:
Use clear, easy-to-read fonts
Make sure the text is big enough to see
Choose colors that contrast with the background
Captions:
Captions help people who are deaf or hard of hearing understand your videos.
They also make it easier for people to watch your videos in noisy places or when they can't turn the sound on.
Captions can even help your videos show up in more search results!
Effortless Video Creation for Faceless YouTube Channels
Whether you're just starting your faceless YouTube journey or already creating content, Videotok is here to revolutionize your workflow. Say goodbye to the complexities of traditional video editing. With Videotok, you can effortlessly transform your ideas into captivating videos, even without stepping in front of the camera. No more expensive software or countless hours spent editing. Videotok AI-powered platform does the heavy lifting, turning your text or website links into polished videos with stunning visuals, professional voiceovers, and seamless transitions.
Exporting and Optimizing Your Videos for YouTube
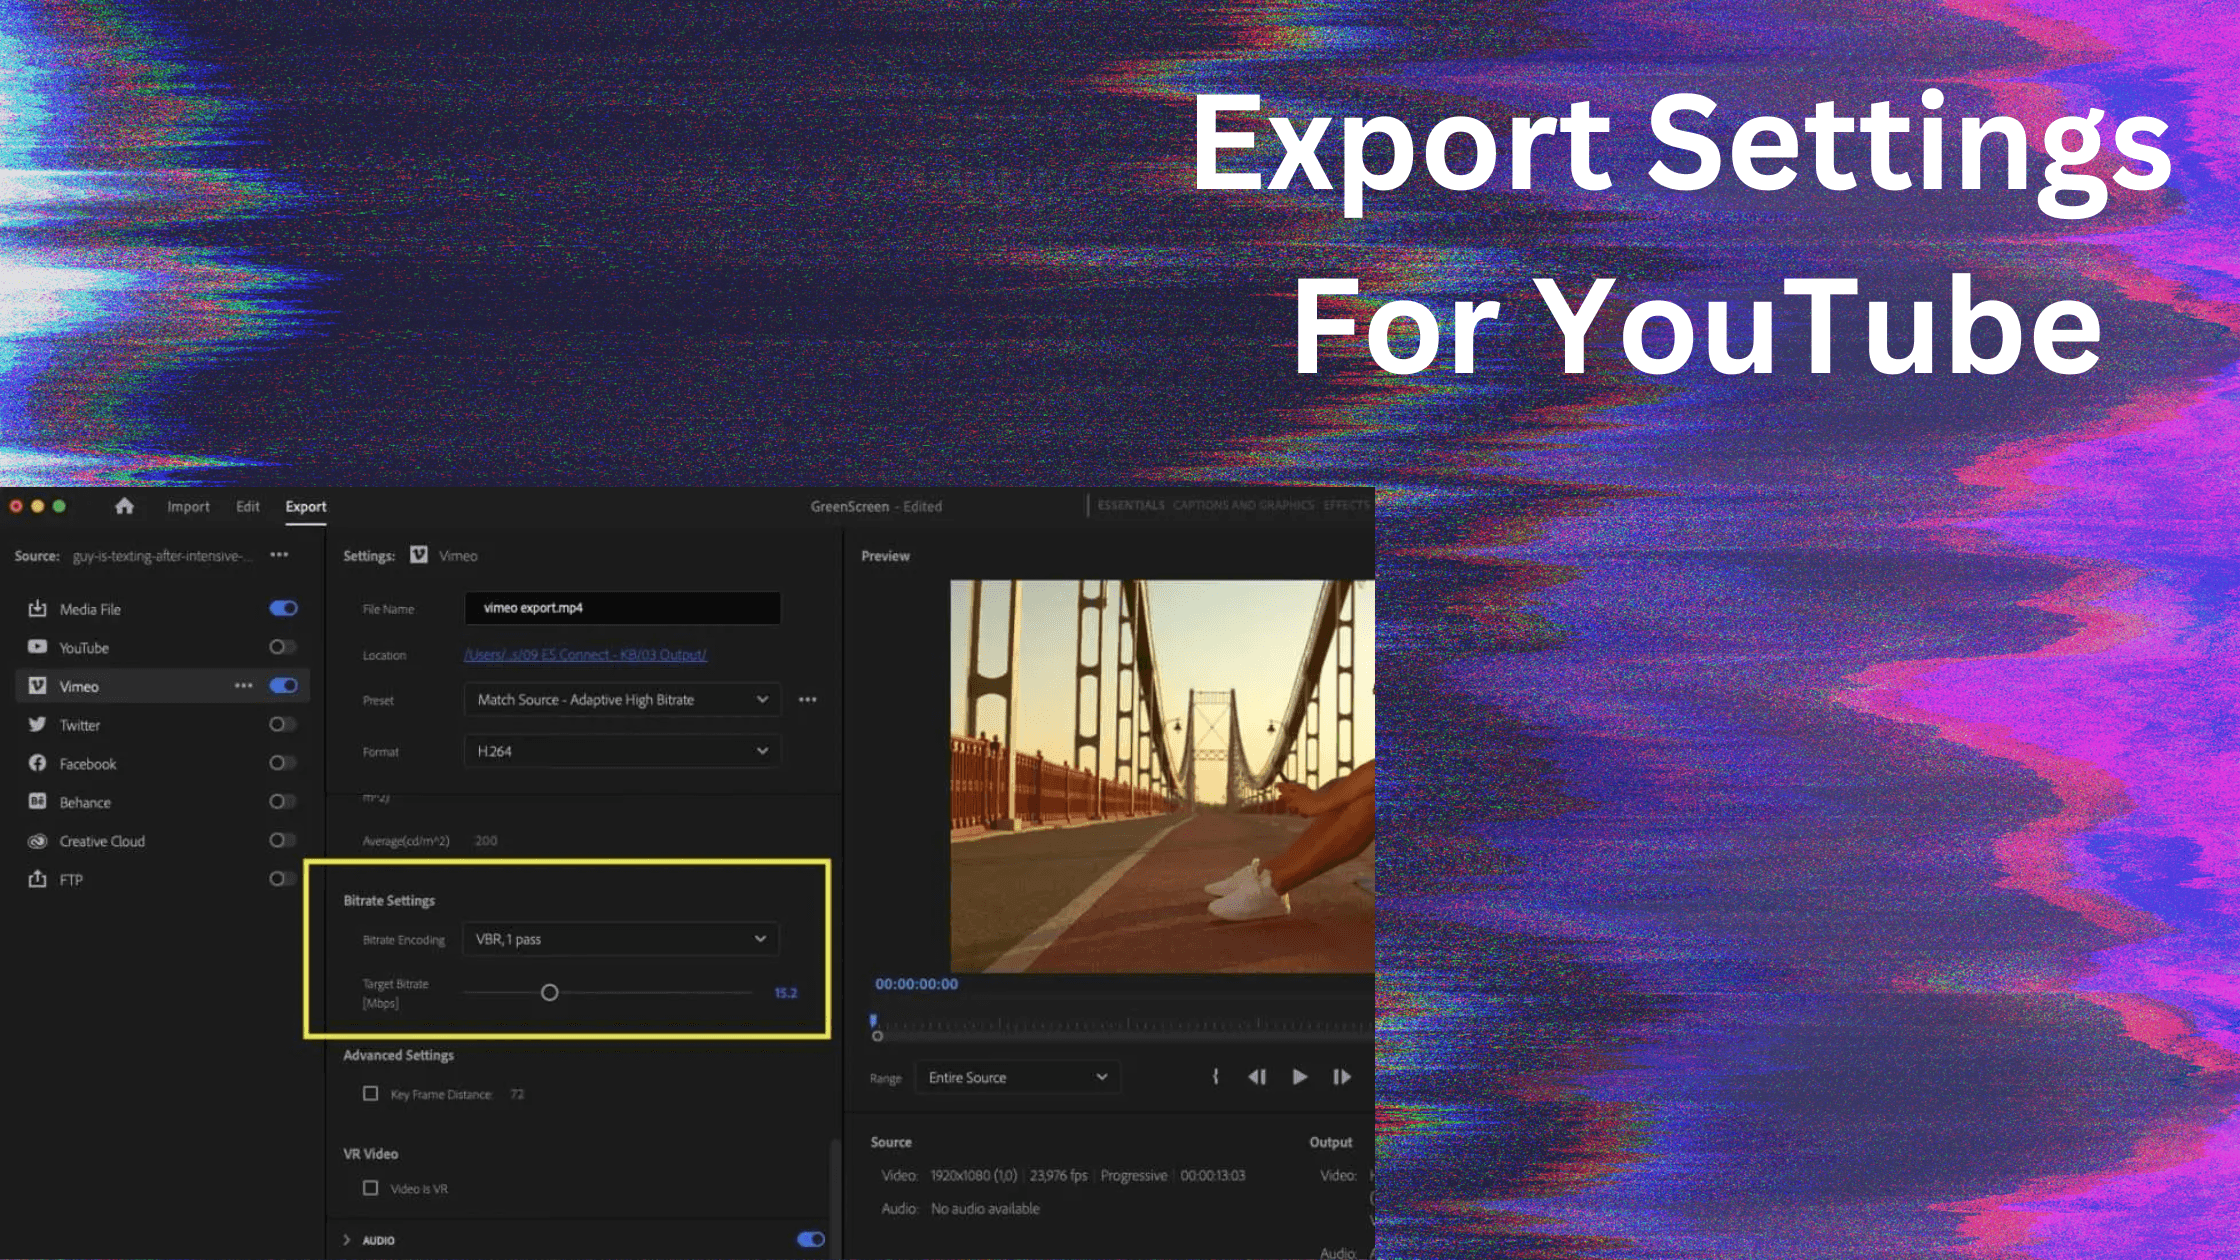
Think of exporting your video like packing a suitcase for a trip. You want to make sure everything fits and that it's not too heavy to carry. Exporting your video in the right format and settings is like packing your suitcase perfectly for YouTube. It makes sure your video looks great and loads quickly, so people don't get frustrated and click away.
Here are some tips for exporting your videos the right way:
Choose the right resolution and bitrate: Higher resolution and bitrate mean better quality, but also bigger file sizes. Find a balance that works for your video.
Pick the right codec: Codecs are like different ways of packing your video data. Some codecs are better for certain types of videos.
Use compression: Compression is like squeezing your video down to make it smaller without losing too much quality.
You can also find helpful tips and tricks at the YouTube Creator Academy
Remember, a well-optimized video will look great, load quickly, and keep your viewers happy!
Promoting and Sharing Your Videos
You've put a lot of work into making awesome videos, now it's time to get them seen! Sharing your videos is like throwing a party – you want to invite as many people as possible.
Here are some tips to get your videos in front of more eyes:
Use the right keywords and descriptions: Think about what people might search for to find your video and include those words in your title, description, and tags
Share on social media: Post your videos on all your social media accounts and encourage your friends and family to share them too
Engage with your viewers: Reply to comments, ask questions, and create a community around your channel
Collaborate with other YouTubers: Team up with other creators to make videos together and reach each other's audiences
Remember, the more people who see your videos, the more your channel will grow. So don't be shy – get out there and share your awesome content with the world!
FAQ
How long does it take to learn video editing?
That's like asking how long it takes to learn to ride a bike! Everyone learns at their own pace.
You can start editing simple videos within a few hours of learning the basics. However, mastering more advanced techniques like color grading or special effects can take months or even years of practice. The key is to be patient, keep practicing, and have fun along the way!
Do I need fancy equipment to edit YouTube videos?
Nope! You can start editing with just a computer and the basic video editing software that comes with it (or a free one you download). As you get better and want to make more professional-looking videos, you might want to invest in a better microphone, camera, or lighting. But don't let a lack of fancy gear stop you from starting your YouTube journey today!
How can I make my videos more engaging?
Think of your videos like a good book or movie - you want to keep people hooked from start to finish! Here are a few tips:
Tell a story: Even if it's just a short vlog, having a beginning, middle, and end will help keep people watching.
Mix up your shots: Use different angles and distances to keep things visually interesting.
Add music and sound effects: These can set the mood and make your videos more exciting.
Keep it short and sweet: People have short attention spans, so try to get to the point quickly and keep your videos concise.
What are some common video editing mistakes to avoid?
Even the pros make mistakes sometimes, but here are a few common ones to watch out for:
Shaky footage: Use a tripod or stabilize your footage in editing software to avoid making viewers seasick.
Bad audio: Make sure your audio is clear and easy to understand. Avoid background noise and invest in a decent microphone if you need to.
Too many transitions and effects: A few well-placed transitions and effects can be fun, but too many can be distracting and take away from your message.
Videos that are too long: Get to the point and keep your videos concise. People are more likely to watch a shorter video all the way through.
Conclusion
Congratulations! You've just completed our YouTube Video Editing Masterclass. You've learned how to choose the right software, organize your footage, cut and trim your clips, add cool effects, make your audio sound great, and so much more. Now it's time to put those skills to the test!
Remember, the best way to get better at video editing is to practice. So grab your camera, start filming, and let your creativity run wild. Don't be afraid to experiment and try new things. The more you edit, the better you'll get.
And if you ever need more help, there are tons of resources available online. Check out tutorials, read blogs, and join online communities to connect with other video editors. Keep learning and growing, and you'll be well on your way to creating amazing YouTube videos that people will love to watch!


